How to host Django Application using gunicorn & nginx in Production

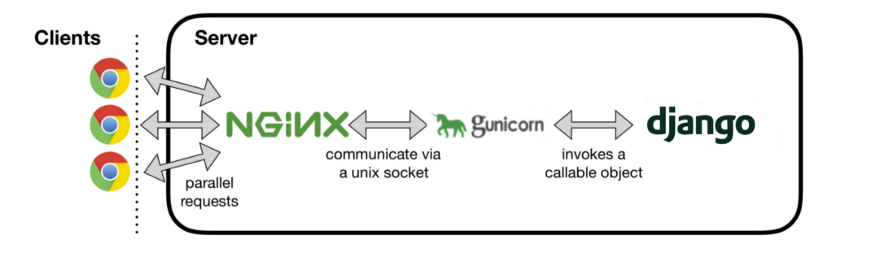
In this post, we will see how to use Nginx with Gunicorn to serve Django applications in production.
Django is a very powerful web framework and ships with a server that is able to facilitate development. This development server is not scalable and is not suited for production. Hence, we need to configure Gunicorn to get better scalability and nginx can be used as a reverse proxy and as a web server to serve static files. Let's get started
Before you follow the steps outlined below, I will assume that you have already configured your Ubuntu server with a non-root user and firewall as outlined here.
Step 1 - Installing python and nginx
Let's update the server's package index using the command below:
sudo apt update
Copy
sudo apt install python3-pip python3-dev nginx
Copy
This will install Python, pip and Nginx server
Step 2 - Creating a Python virtual environment
sudo pip3 install virtualenv
Copy
This will install a virtual environment package in python. Let's create a project directory to host our Django application and create a virtual environment inside that directory.
mkdir ~/projectdir
cd ~/projectdir
Copy
virtualenv env
Copy
A virtual environment named env will be created. Let's activate this virtual environment:
source env/bin/activate
Copy
Step 3 - Installing Django and Gunicorn
pip install django gunicorn
Copy
This installs Django and Gunicorn in our virtual environment
Step 4 - Setting up our Django project
At this point, you can either copy your existing Django project into the project dir folder or create a fresh one as shown below:
django-admin startproject textutils ~/projectdir
Copy
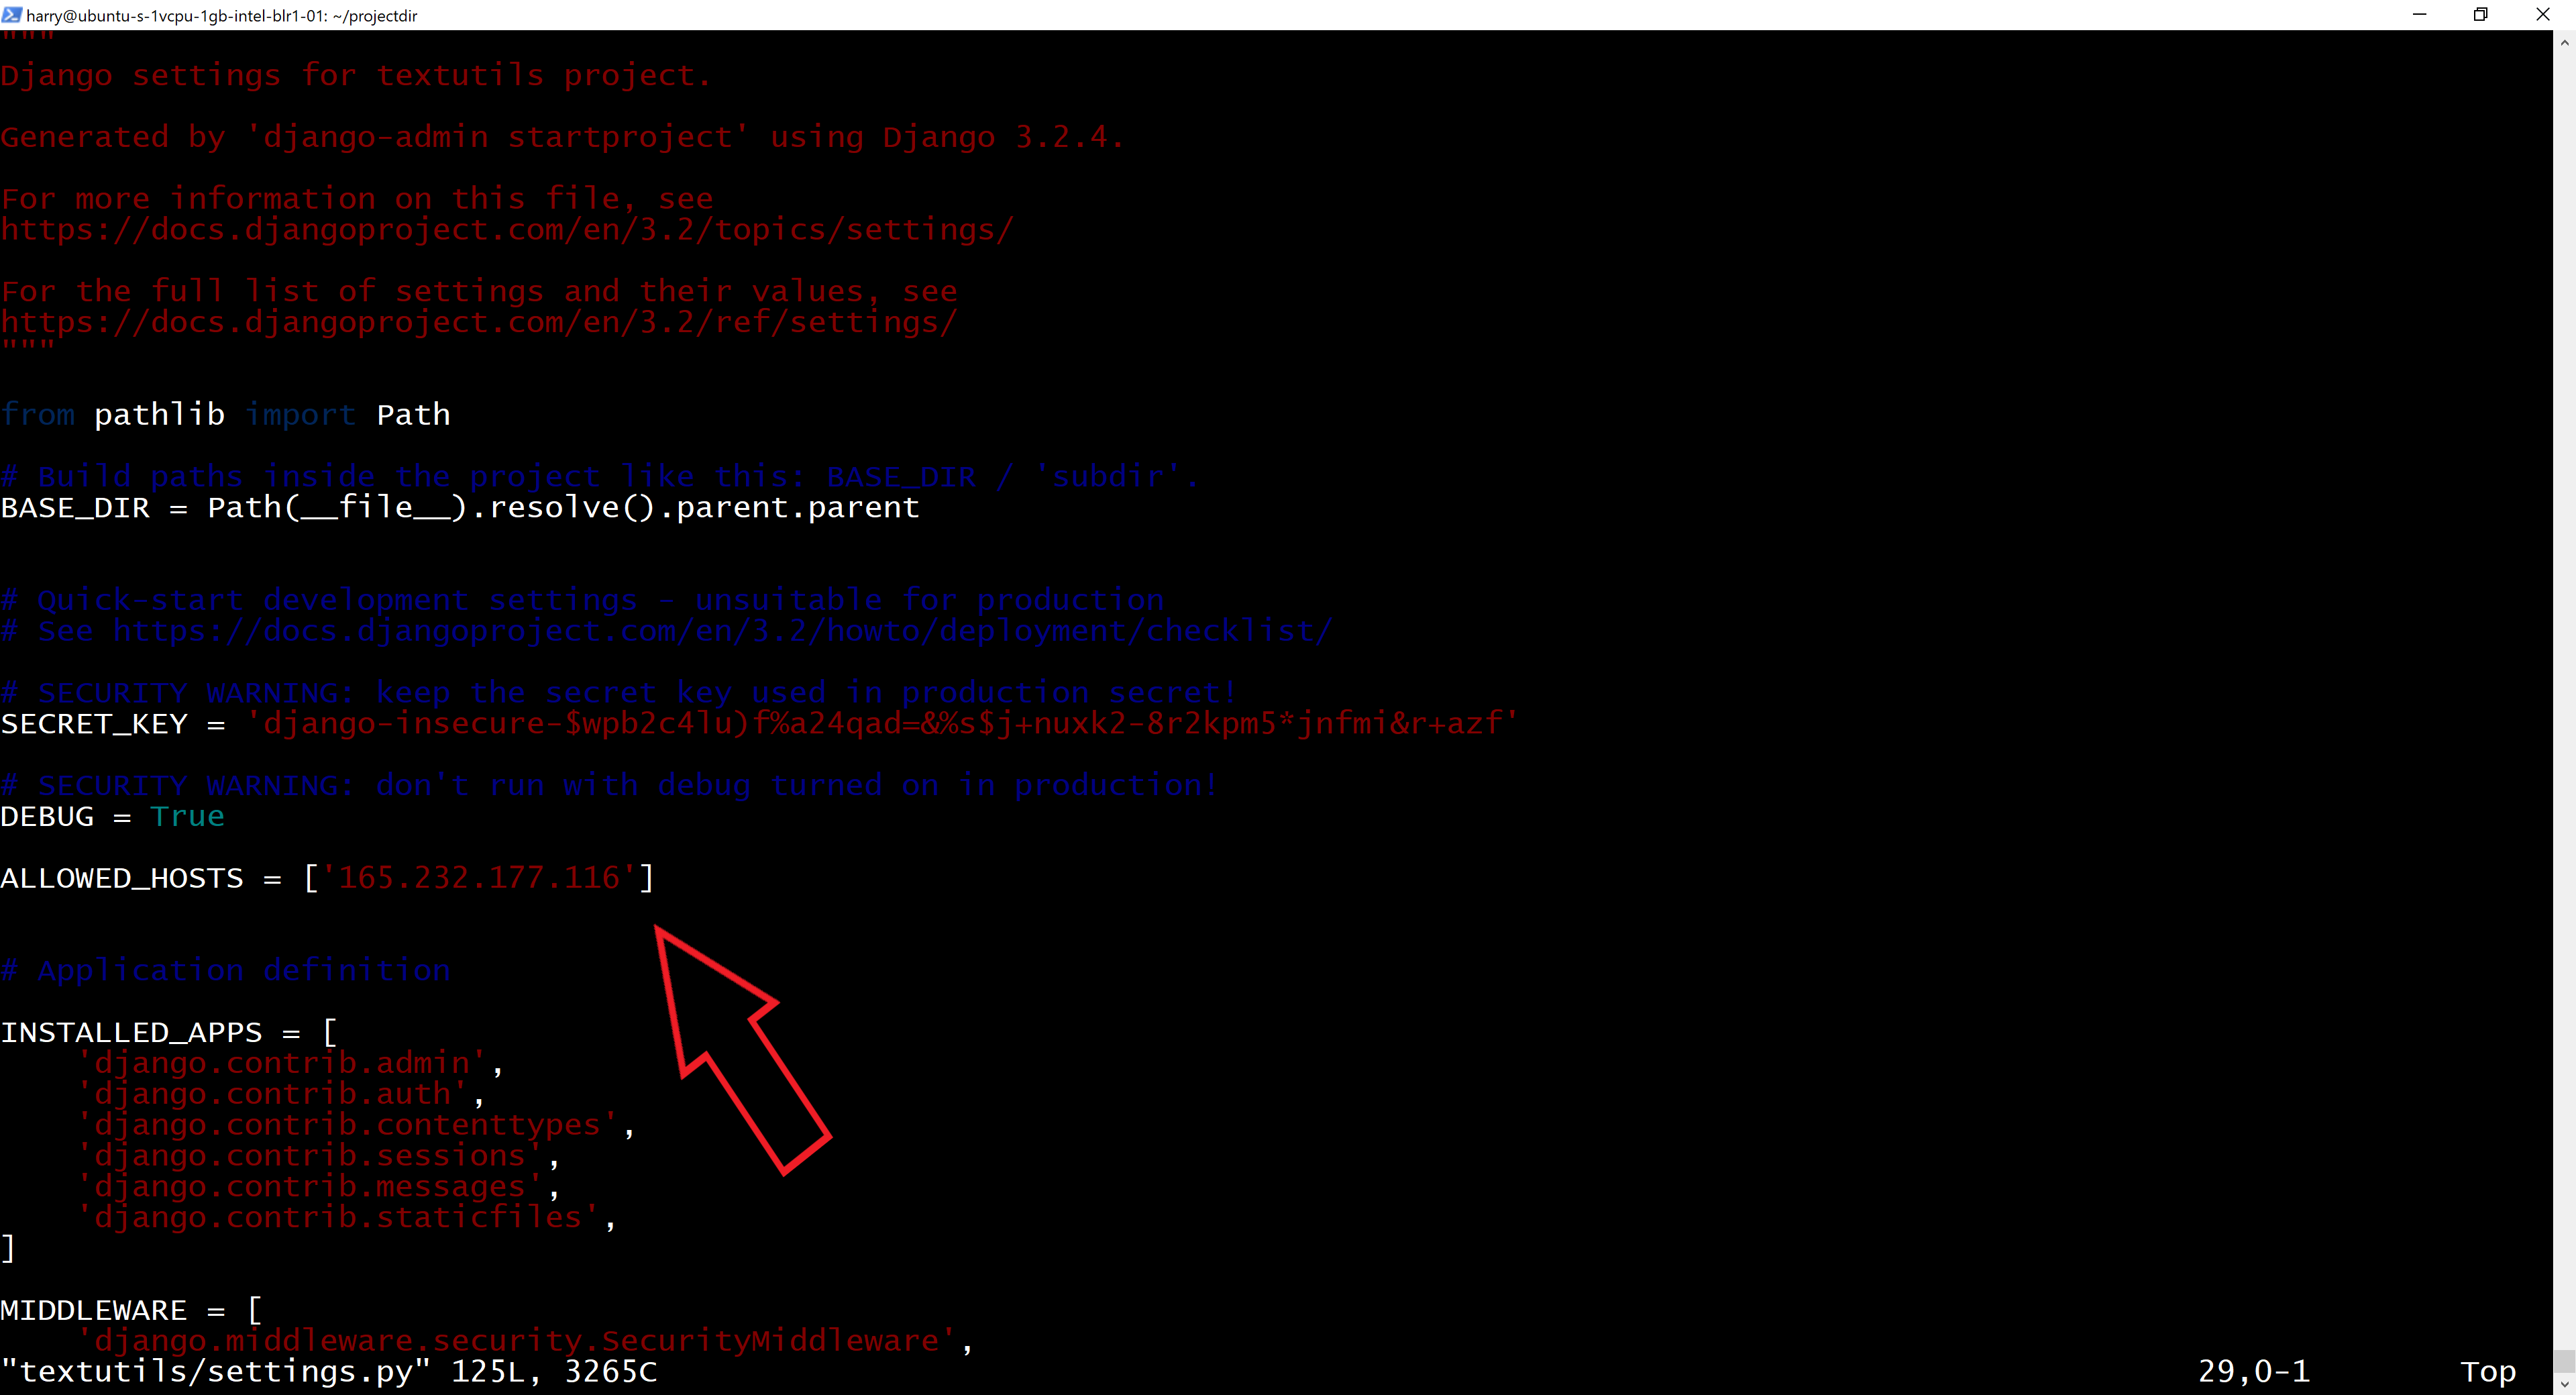
Add your IP address or domain to the ALLOWED_HOSTS variable in settings.py.
If you have any migrations to run, perform that action:
~/projectdir/manage.py makemigrations
~/projectdir/manage.py migrate
Copy
Let's test this sample project by running the following commands:
sudo ufw allow 8000
Copy
This opens port 8000 by allowing it over the firewall. Let's start our Django development server to test the setup so far:
~/projectdir/manage.py runserver 0.0.0.0:8000
Copy

Step 5 - Configuring Gunicorn
Let's test Gunicorn's ability to serve our application by firing the following commands: Find the wsgi file in the main project folder
gunicorn --bind 0.0.0.0:8000 textutils.wsgi
Copy

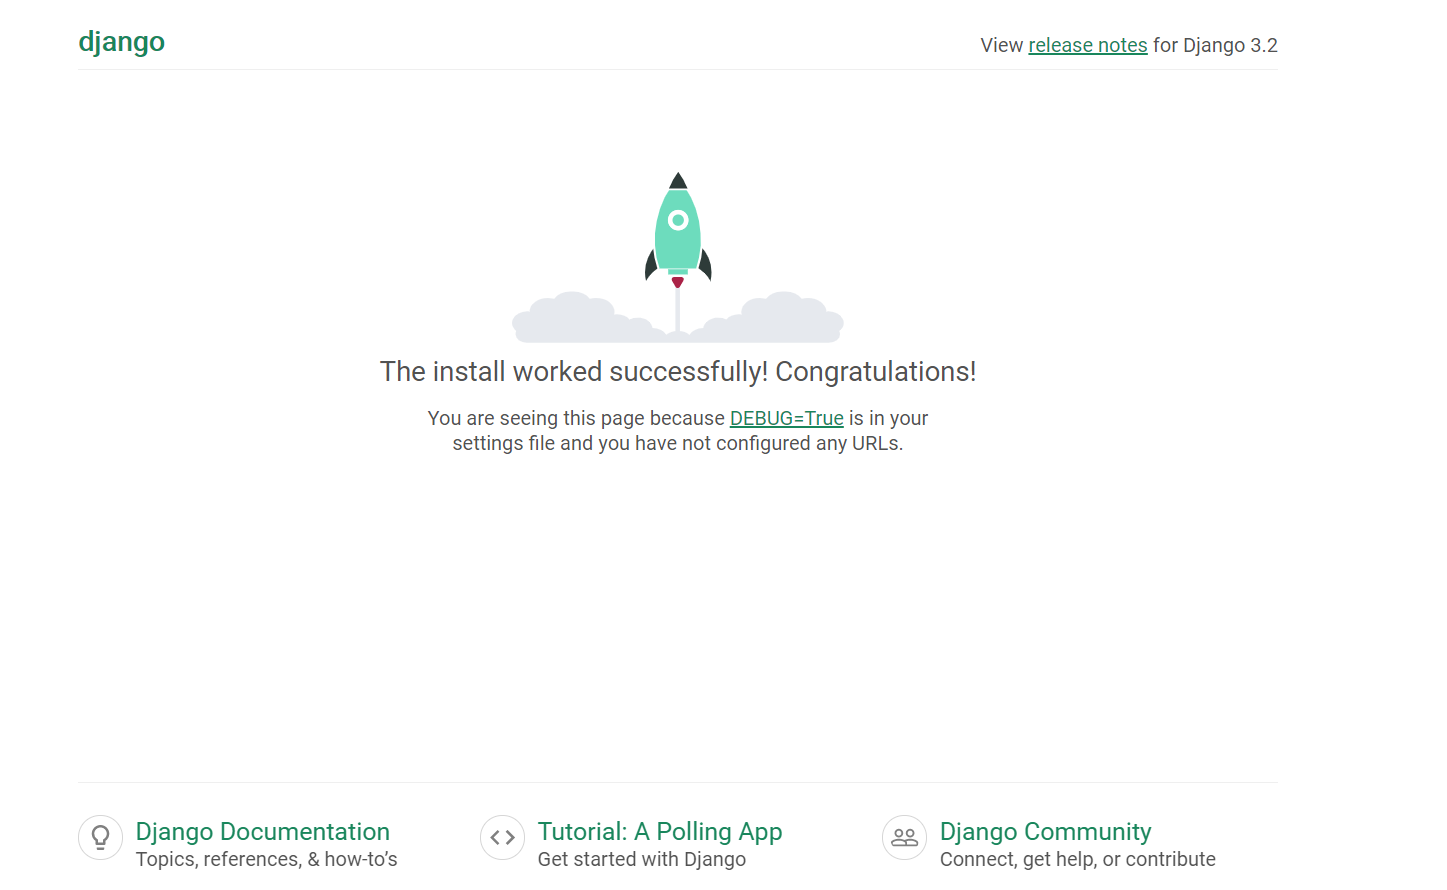
This should start Gunicorn on port 8000. We can go back to the browser to test our application. Visiting http://<ip-address>:8000 shows a page like this:
Deactivate the virtualenvironment by executing the command below:
deactivate
Copy
Let's create a system socket file for Gunicorn now:
sudo vim /etc/systemd/system/gunicorn.socket
Copy
Paste the contents below and save the file
[Unit]
Description=gunicorn socket

[Socket]
ListenStream=/run/gunicorn.sock

[Install]
WantedBy=sockets.target
Copy
Next, we will create a service file for Gunicorn
sudo vim /etc/systemd/system/gunicorn.service
Copy
Paste the contents below inside this file:
[Unit]
Description=gunicorn daemon
Requires=gunicorn.socket
After=network.target

[Service]
User=harry
Group=www-data
WorkingDirectory=/home/harry/projectdir
ExecStart=/home/harry/projectdir/env/bin/gunicorn \
          --access-logfile - \
          --workers 3 \
          --bind unix:/run/gunicorn.sock \
          textutils.wsgi:application

[Install]
WantedBy=multi-user.target
Copy
Lets now start and enable the Gunicorn socket
sudo systemctl start gunicorn.socket
sudo systemctl enable gunicorn.socket
Copy
Step 6 - Configuring Nginx as a reverse proxy
Create a configuration file for Nginx using the following command
sudo vim /etc/nginx/sites-available/textutils
Copy
Paste the below contents inside the file created
server {
    listen 80;
    server_name www.codewithharry.in;

    location = /favicon.ico { access_log off; log_not_found off; }
    location /static/ {
        root /home/harry/projectdir; or either use alias
        alias /home/harry/projectdir;
    }

    location / {
        include proxy_params;
        proxy_pass http://unix:/run/gunicorn.sock;
    }
}
Copy
Activate the configuration using the following command:
sudo ln -s /etc/nginx/sites-available/textutils /etc/nginx/sites-enabled/
Copy
Restart Nginx and allow the changes to take place.
sudo systemctl restart nginx